The Design
To learn about the machining process and how to design parts for ease of manufacture, I took a two month training course in the machine shop. I decided to design and machine a three piece safety razor from steel. I chose this project because I it requires a number of machines and requires high accuracy to be useful.
The Handle
The handle features a knurl finish for grip and grooves for aesthetics. I chose the center of mass of the razor to be very near the point at which I will hold the handle by utilizing the mass properties feature in Solidworks and adjusting the depth of the drill for the screw hole. It allows for better balance and control while shaving.
The Base
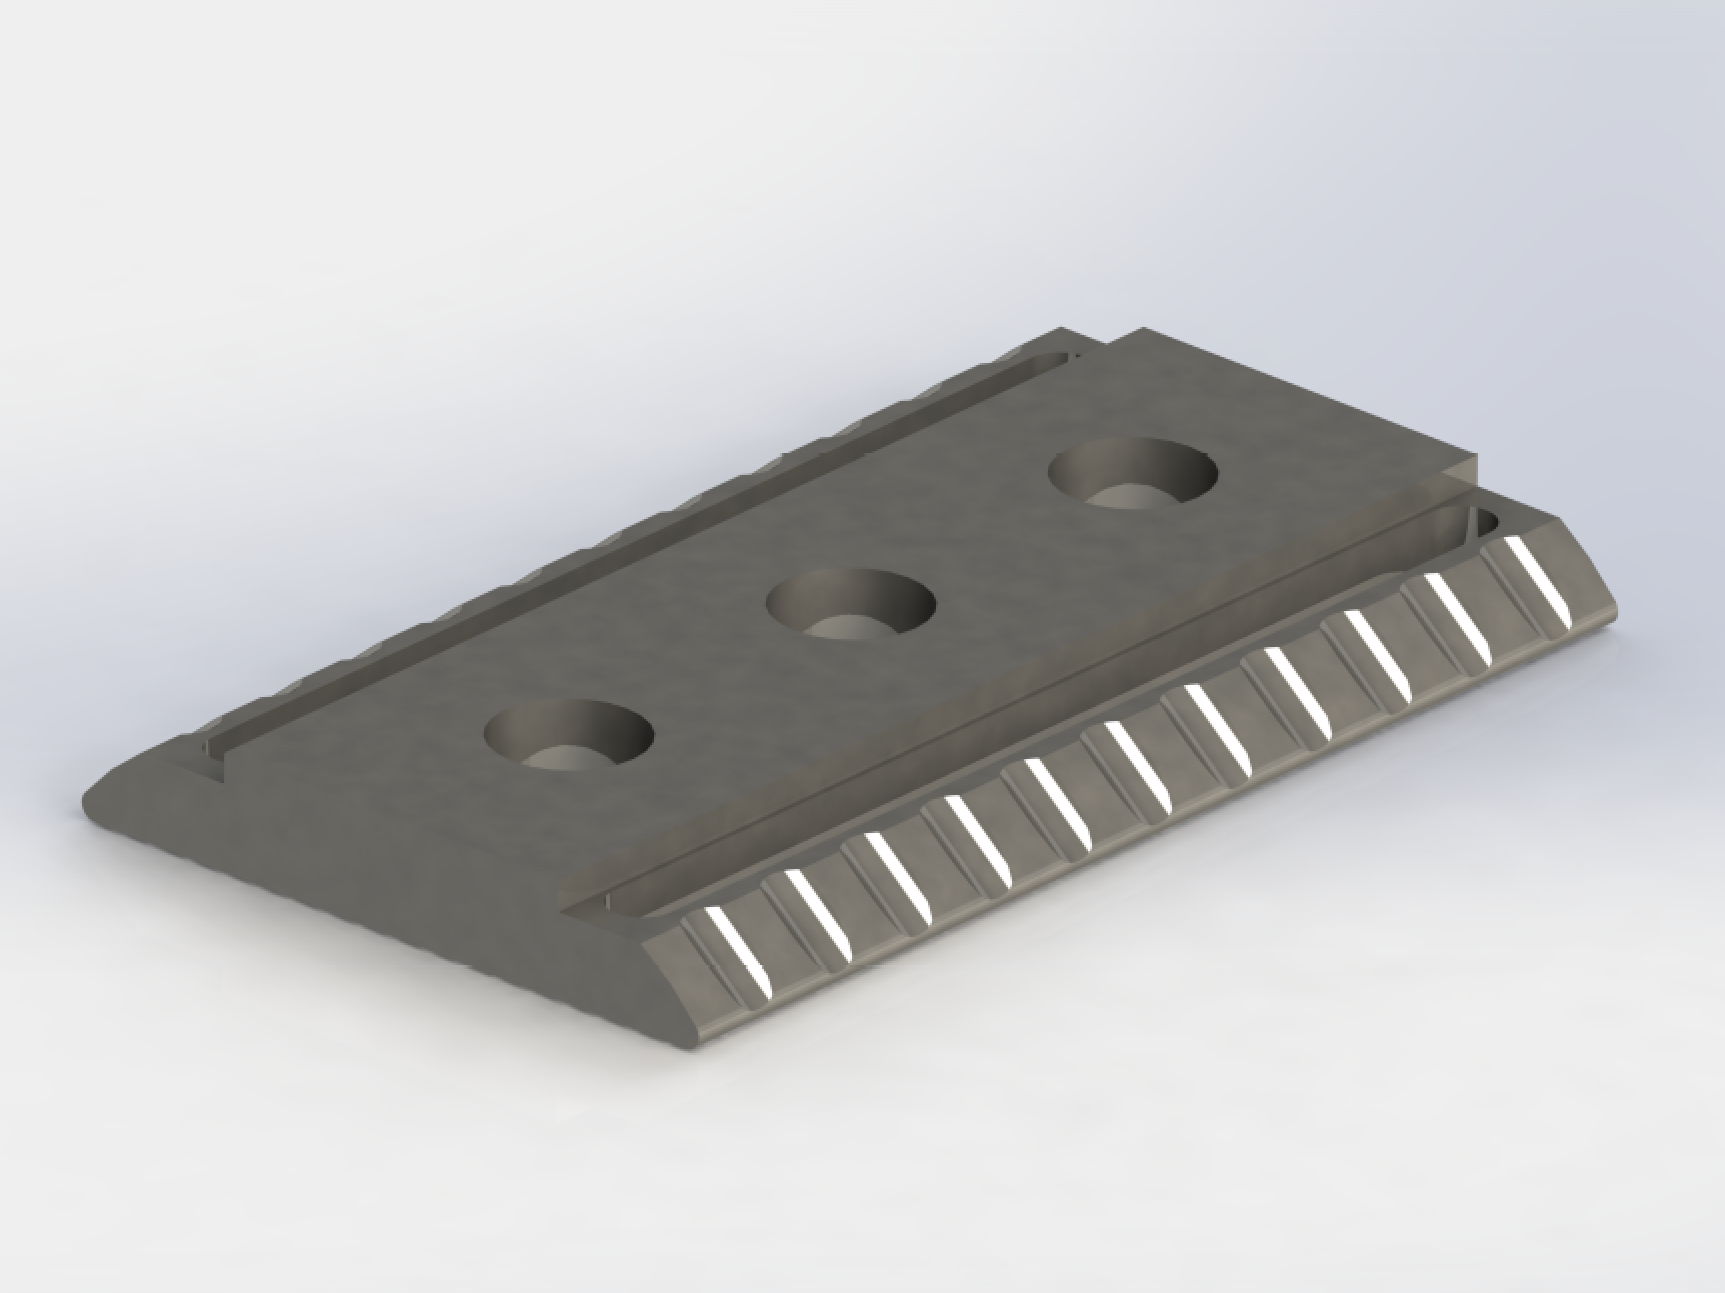
The base features through slots on both sides to allow hair and shaving soap to pass through, and a set of 11 comb grooves on each side. When tightened, the razor will exert upward force from the shoulders of the base, in order to curve the blade into position.
The Cap
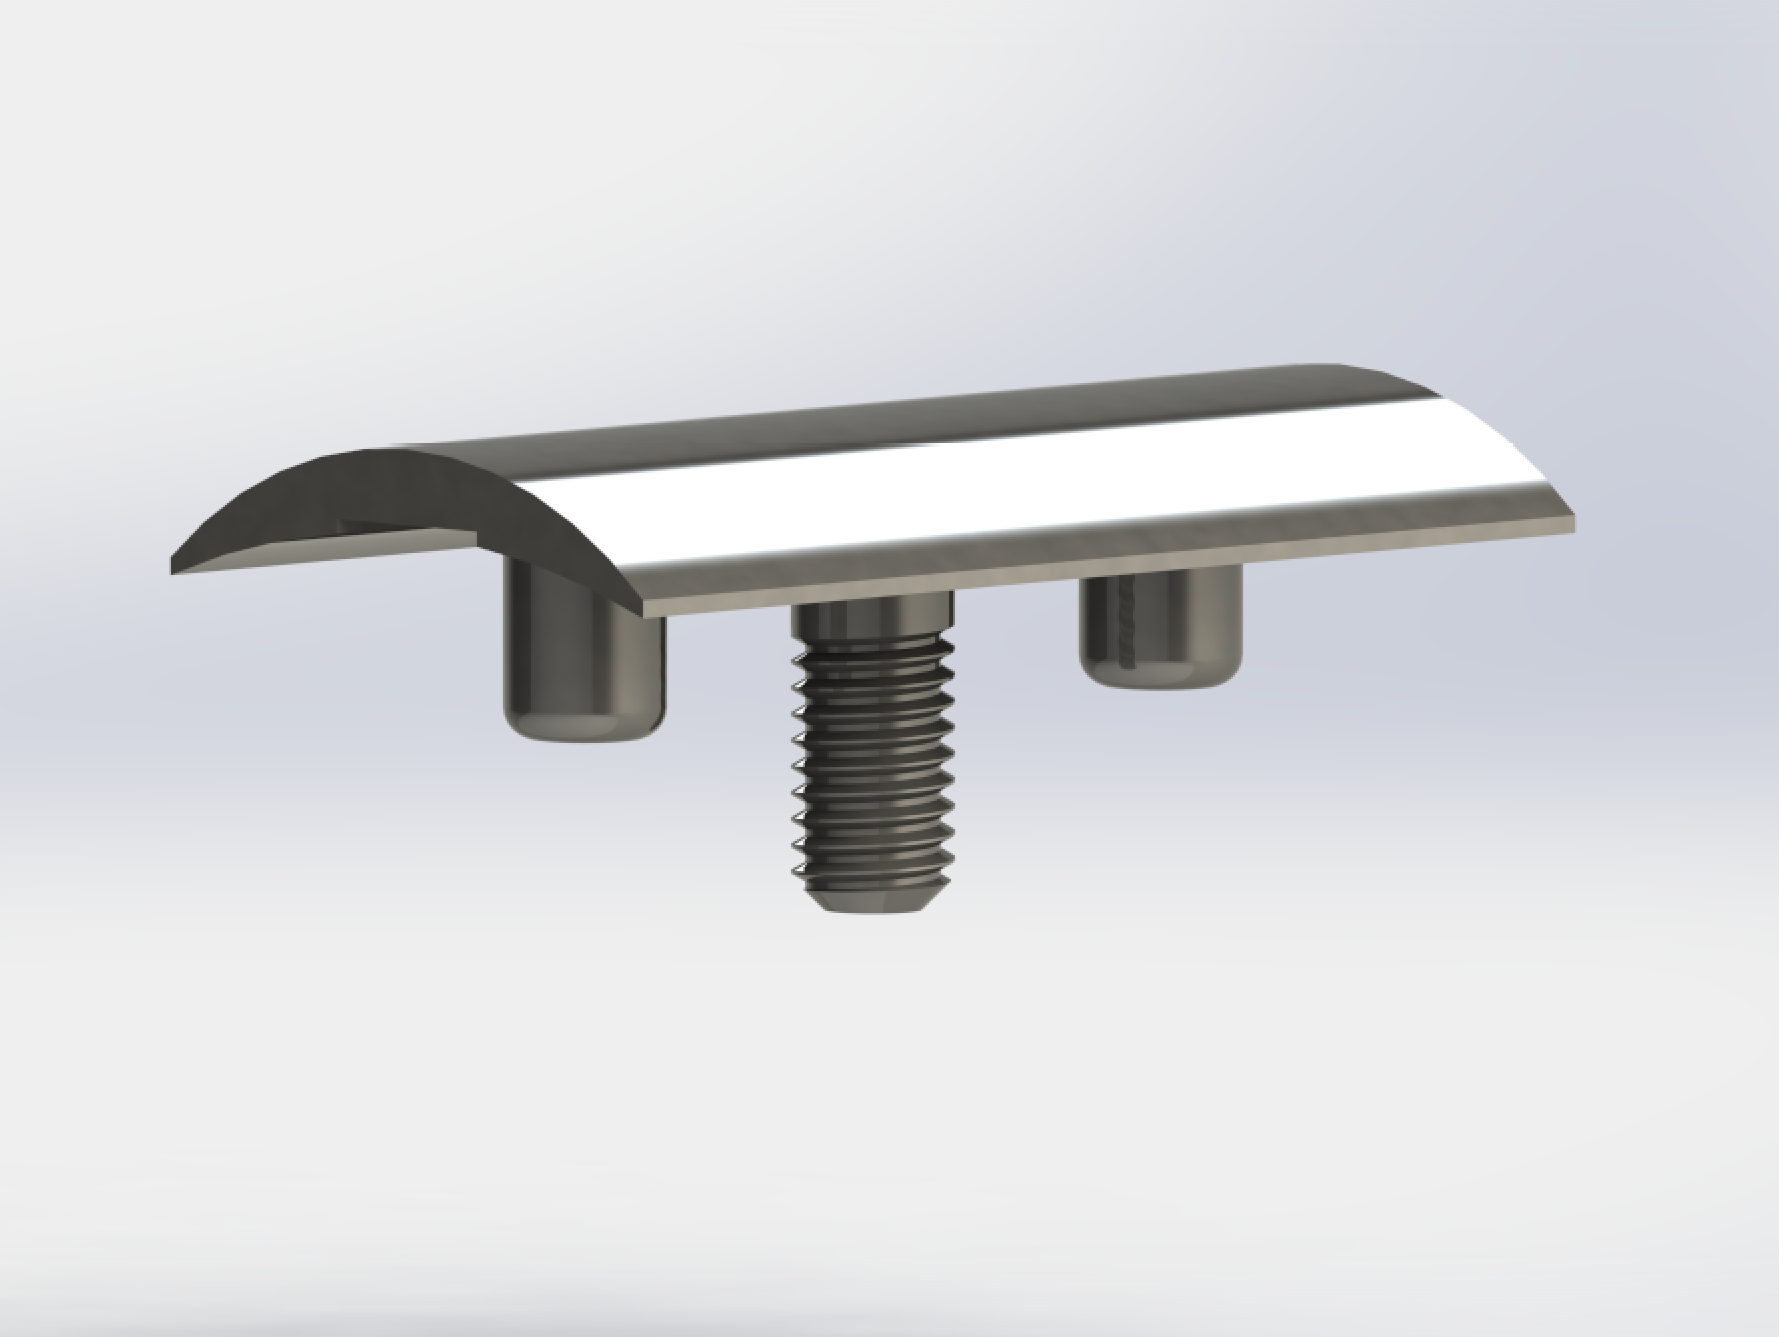
The cap's design is critical to the functioning of the razor. It must be thin and curved to allow ease of shaving. Its edges must be at the right distance from the center in order to curve the blade into position such that the blade cannot cut deeply into skin, but also extends outward enough to cut the hair. This piece required the most advanced and detailed geometric work of the three.
For those with CAD software, I encourage you to download the SolidWorks models and drawings and examine the parts yourself.
Model and Drawings


The Manufacture
As would be expected in a project such as this, not everything from the design went exactly to plan. At times, the shop did not have the tools necessary to create a feature exactly as designed and at other times, the design called for features that were simply difficult to execute. Often, design changes had to be made on the fly because the shop worked almost exclusively in imperial units, and I designed my parts using metric.
The Handle
In machining the handle, two challenges arose. The first was the difficulty of knurling. The design called for a diamond knurl finish, which is achieved by turning the piece on a lathe while clamped between two knurling wheels which each impart one set of lines. The wheels must be positioned manually and after completing the knurl, it was discovered that they had been placed very slightly off center, which resulted in one set of helices being deeper than the other, making the finish appear more like a spiral than a set of diamonds. However, the finish still looked very good, and I decided to leave it rather than let the perfect be the enemy of the good and attempt to change it. The second challenge was that the shop did not have a rounding tool to make the bottom of the handle the way I specified. Instead, I machined another groove at the bottom.


The Base and Cap
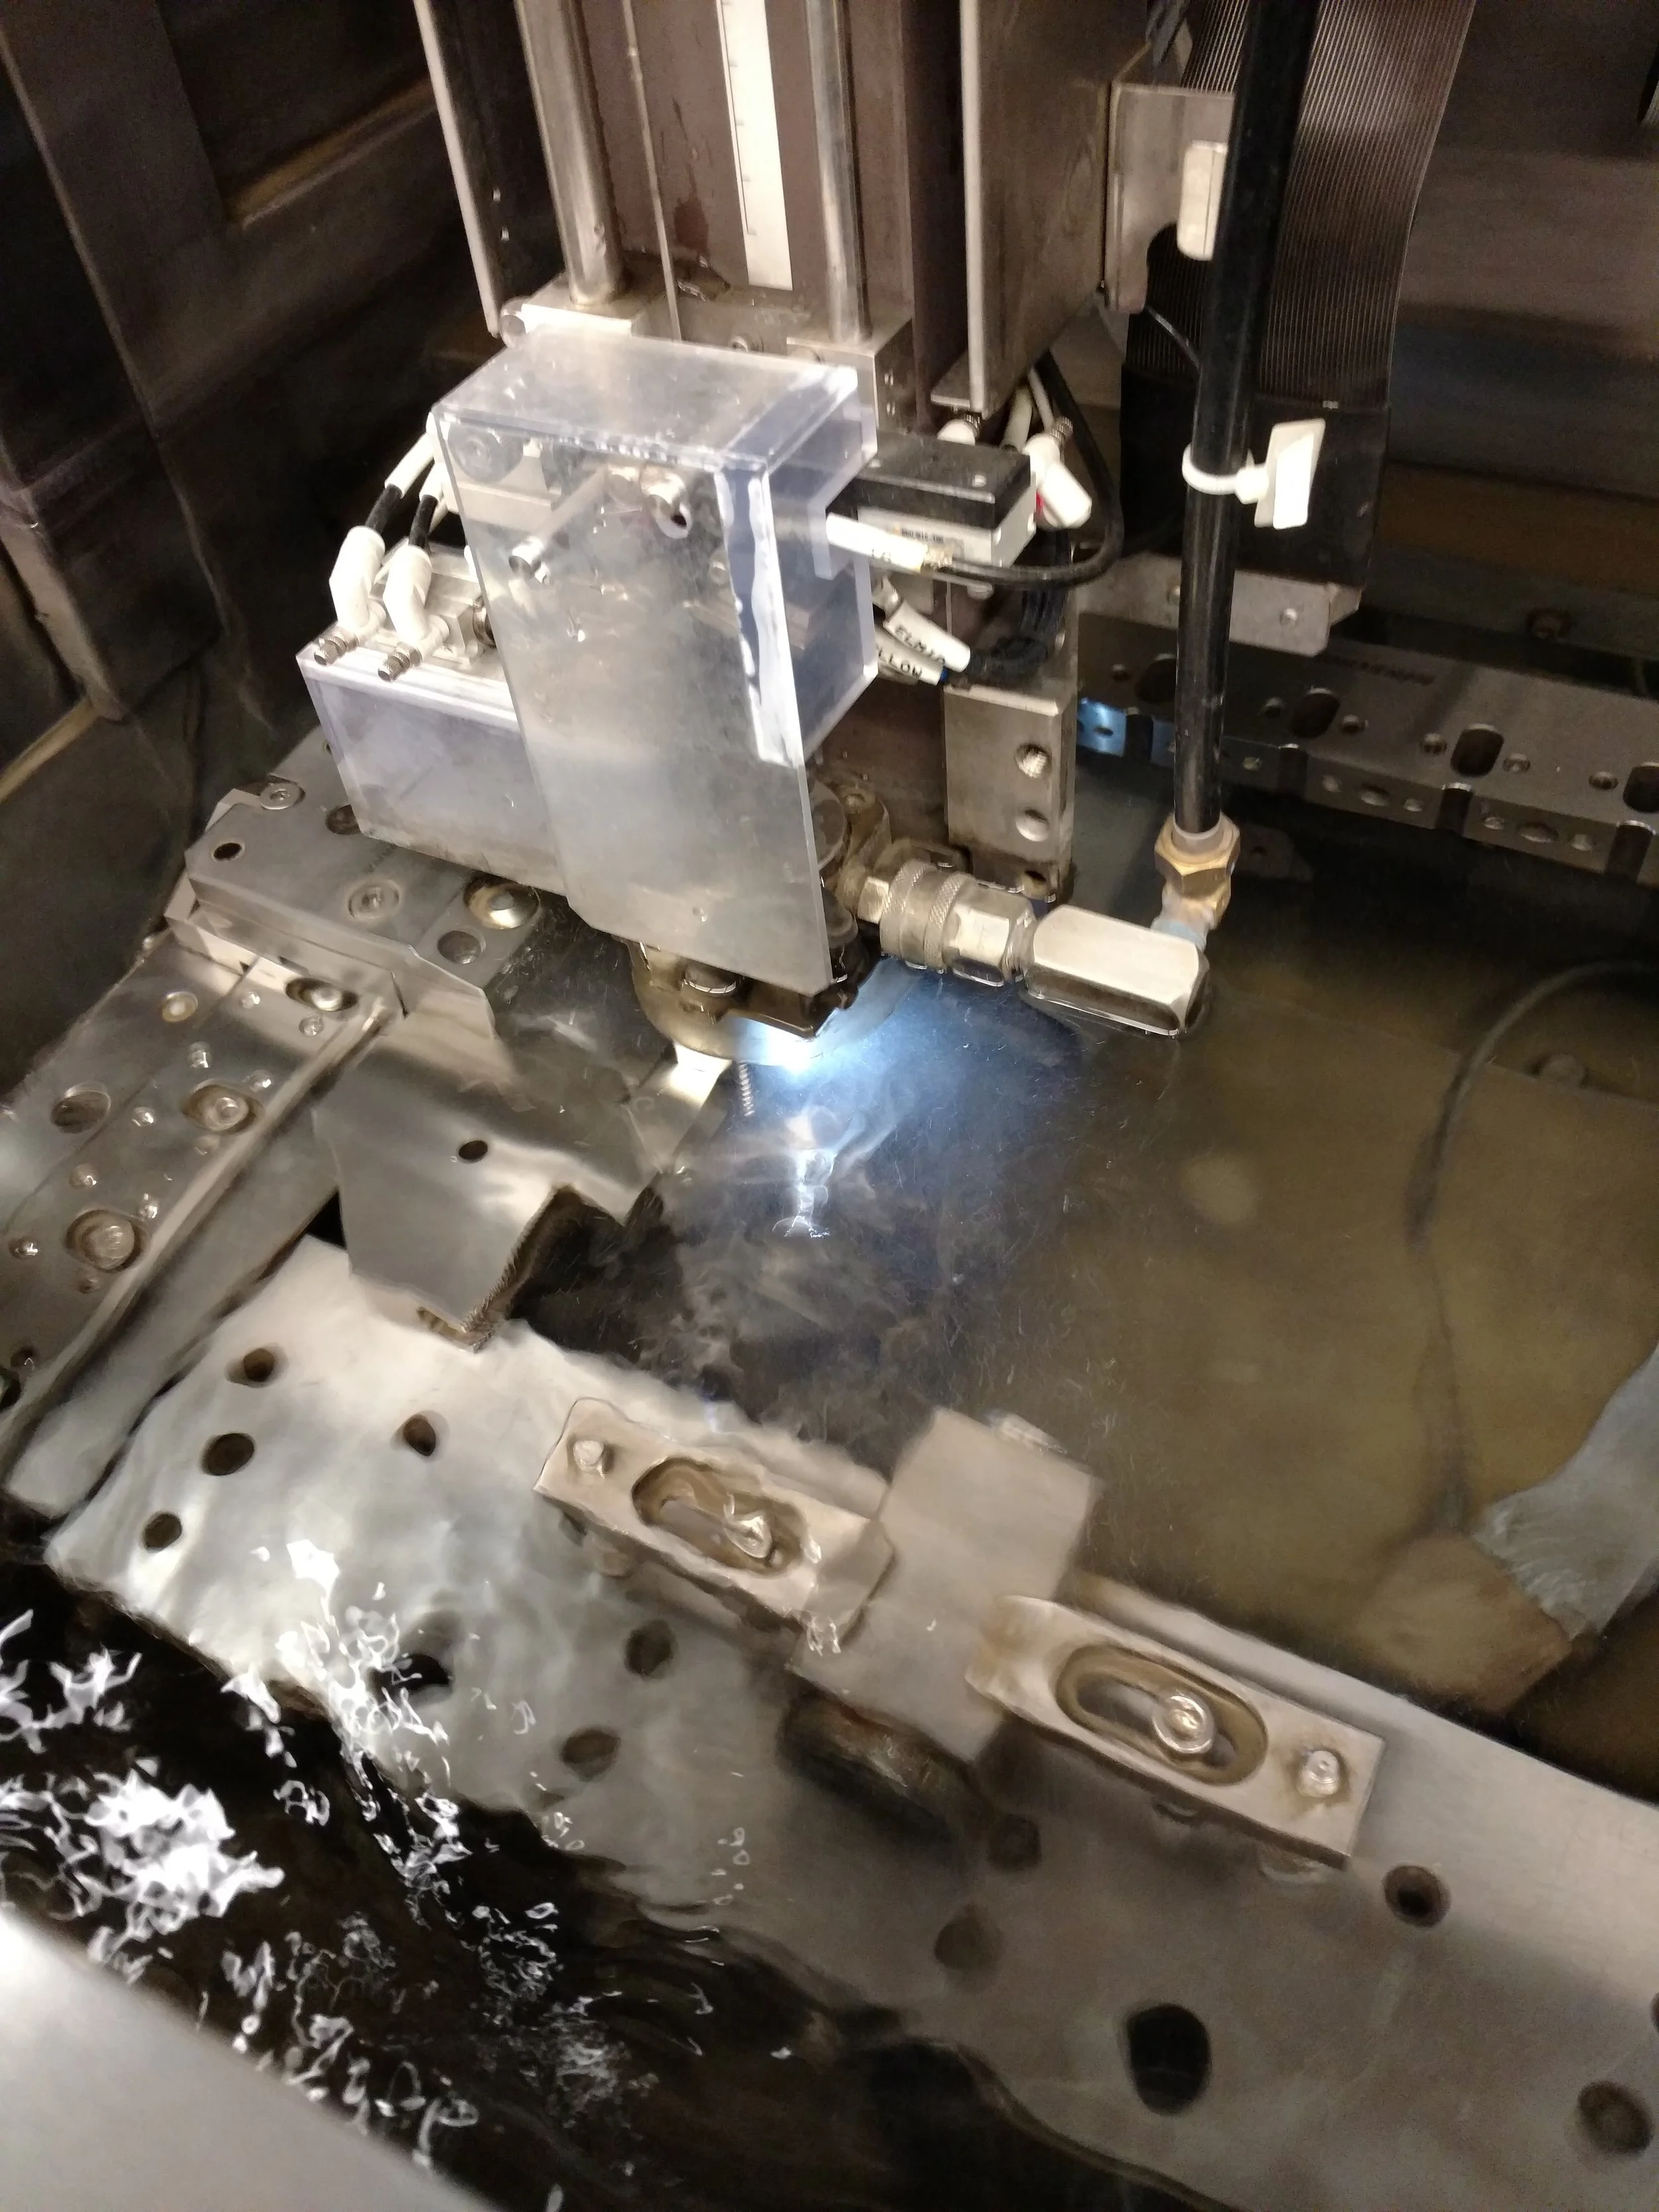
The base and head were both made from a single block of steel, with one piece on each side. They were each cut with the wire EDM shortly before finishing. The 50° angle of the comb grooves turned out not to be particularly difficult. I was introduced to the sine bar tool, which allowed me to place the part into the vice at any angle I wanted. It was then simply a matter of programming the mill to automatically move to the correct positions.
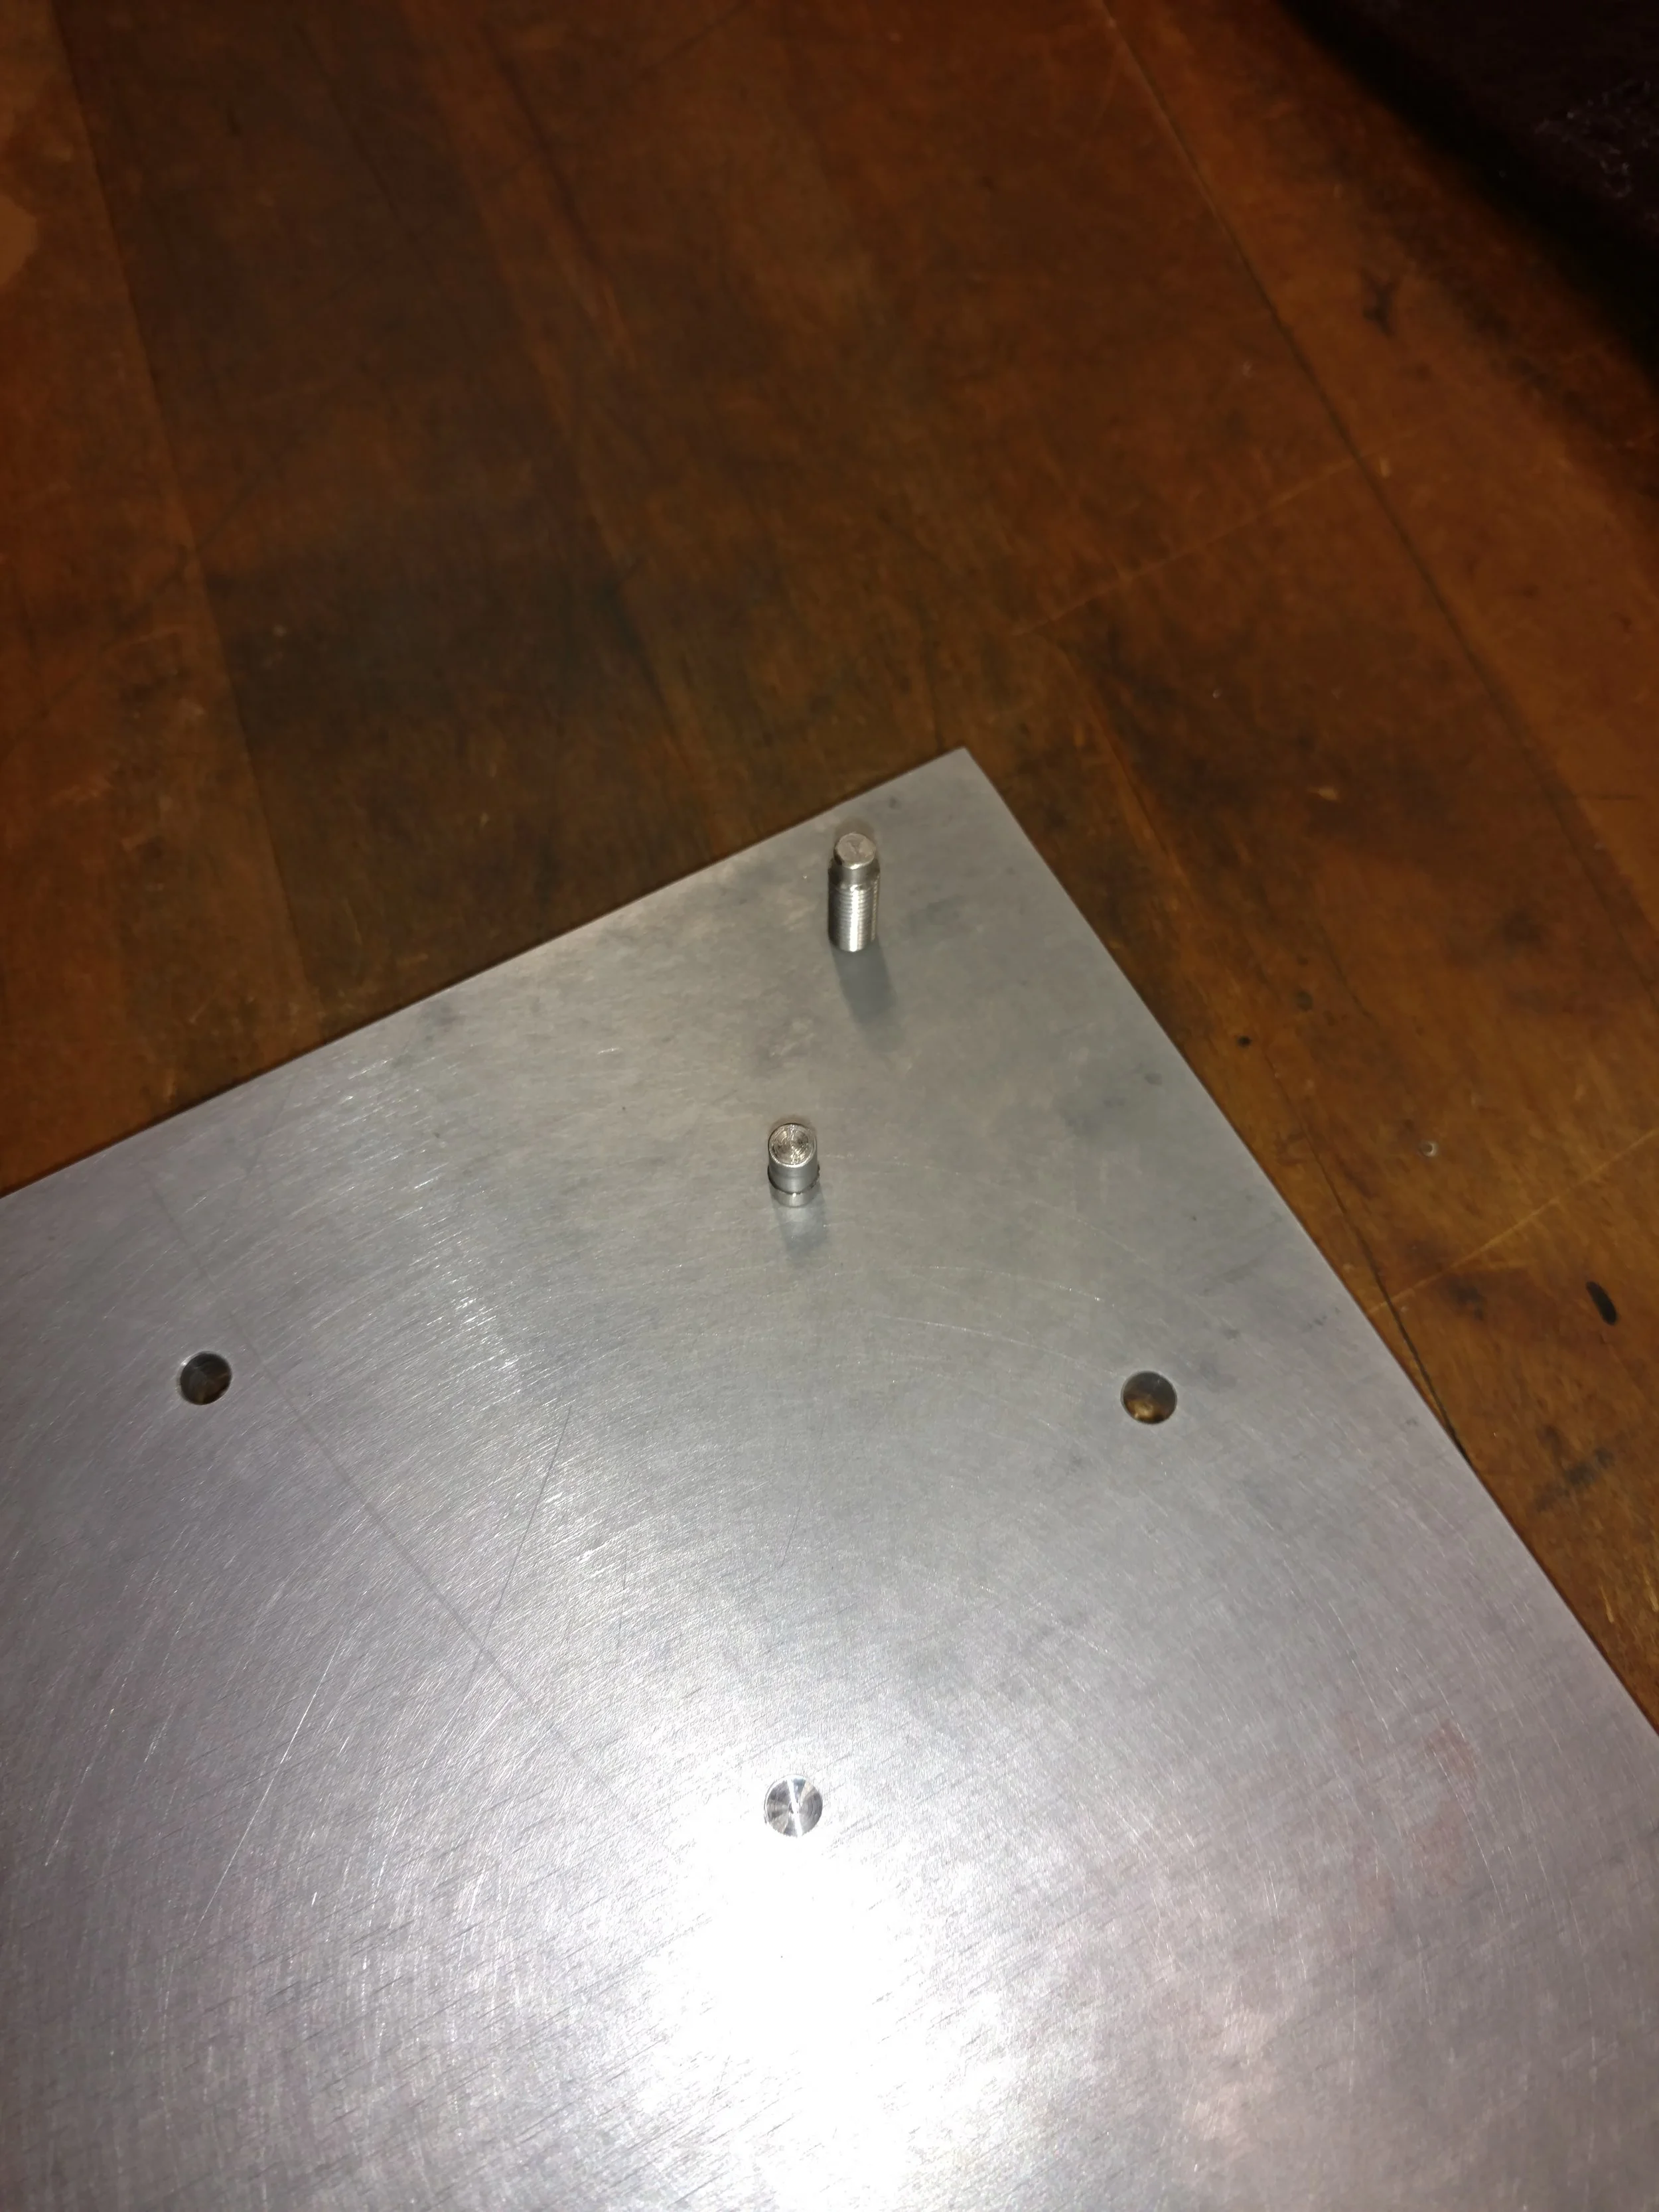
The main challenge of these two parts actually came long before I began making them. In designing the parts, I took detailed measurements of a blade using analog calipers. The problem with this is that some features of the blade were extremely difficult to measure, as there was no surface to use as a stop point. Thus, I had to make my best guess as to when I had actually lined up the calipers correctly. I ended up mis-measuring the placement of the holes by about .89mm. This seems like a small amount, but the parts have very tight tolerances, and the blade simply did not fit on the pins when it was done. Fortunately, I tested it before the pins were welded into the cap, and this could still be fixed. The position of the pins was already set, as the holes had already been drilled in both the base and cap, but the diameter of the pins could still be adjusted. I removed about .35mm from each pin and the blade slid on smoothly. The reduction in diameter of the pins gives the parts a little bit of play, but when the razor is tightened, the pressure along the linear edges tends to align them. Overall, the razor came out very well and it cuts smoothly.


